You can view all existing access keys, create new ones, and revoke the permissions associated with any existing keys. The Role-Based Access Control (RBAC) mechanism allows you to configure specific roles, permissions, and scope for the access keys. For example, an access key with the Reporting Administrator role and a scope set to a TMC lets the user generate reports for that TMC and its partner organizations.
To create, modify, or revoke access keys, you must have the Developer Portal Administrator role assigned to your user profile. Users with the read-only variant of this role can view access keys but cannot create or revoke them. The role is scoped so that you can manage keys only for your own organization, or for the organizations your TMC grants you access to. See Developer portal prerequisites for how the role is assigned.
Select Access Keys in the left navigation.

Click Create.
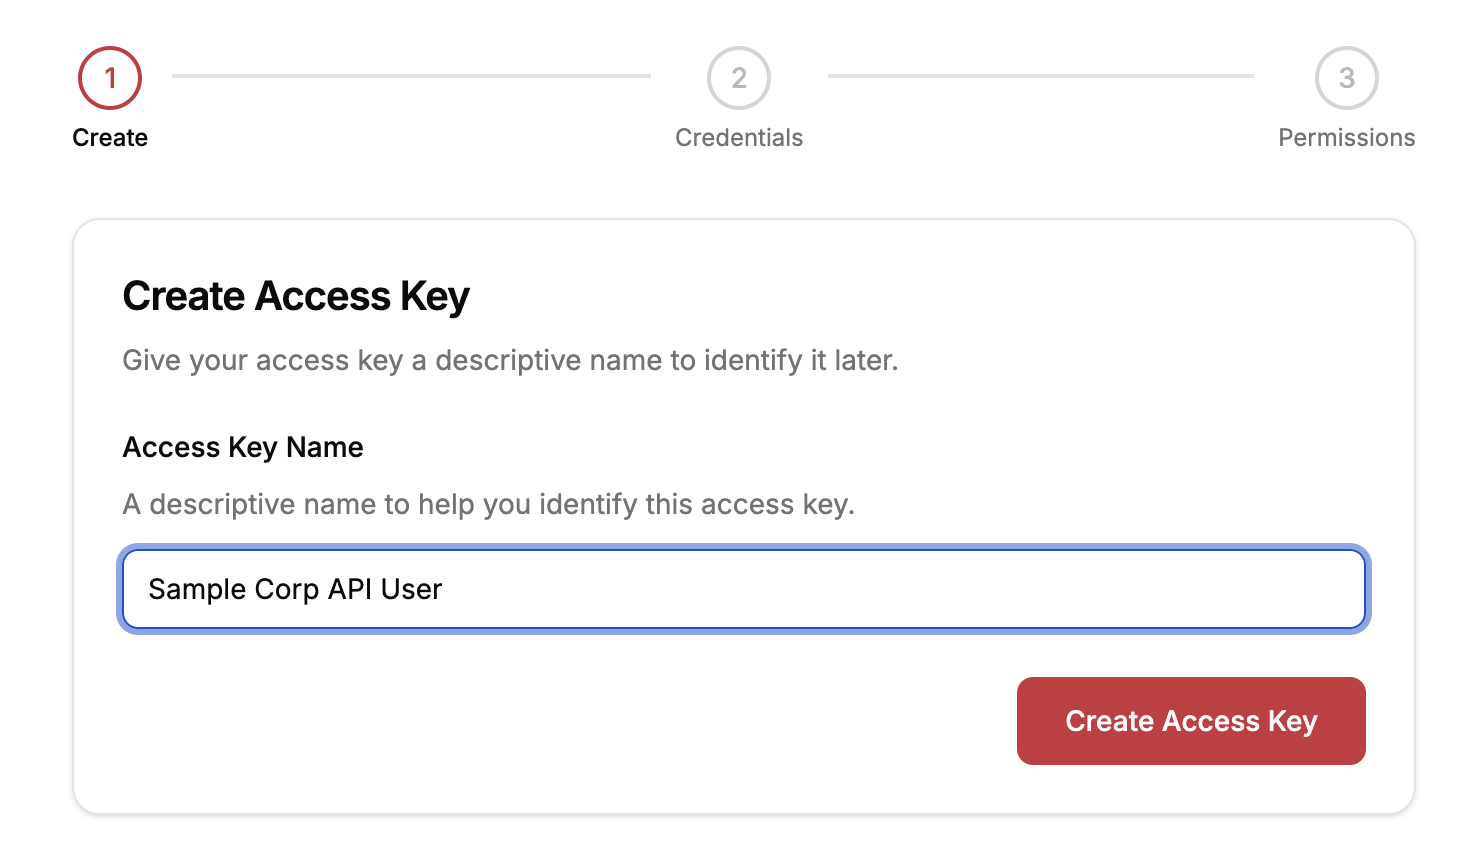
Enter a descriptive name for the access key. You can use this name to identify the key later, for example when you need to change its permissions. Click Create Access Key.
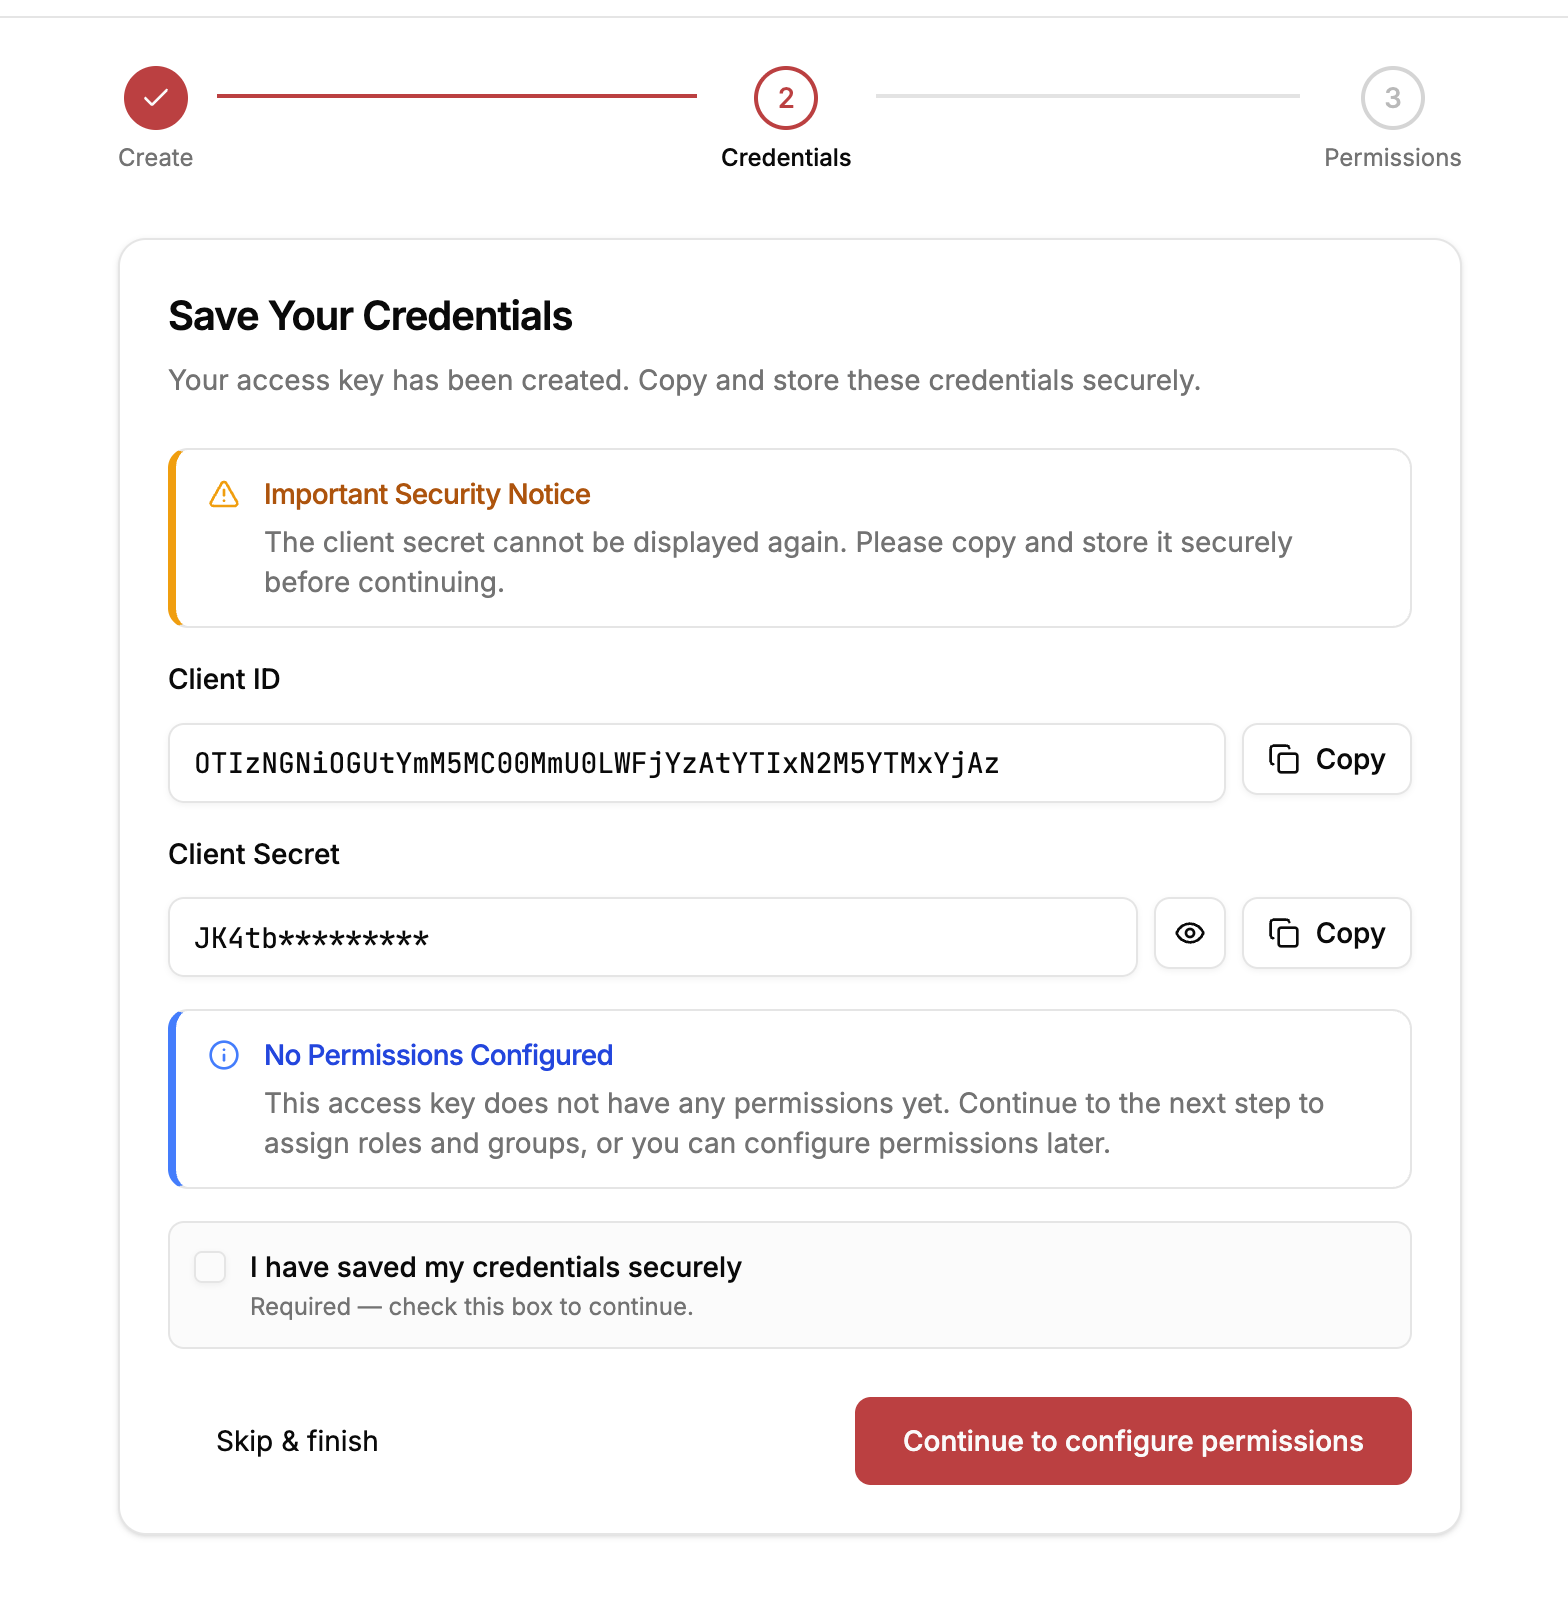
The client ID and client secret for the new access key are displayed. Save these credentials now, as you cannot view them again after this step.
After you've securely stored the access key credentials, select the I have saved my credentials securely checkbox.
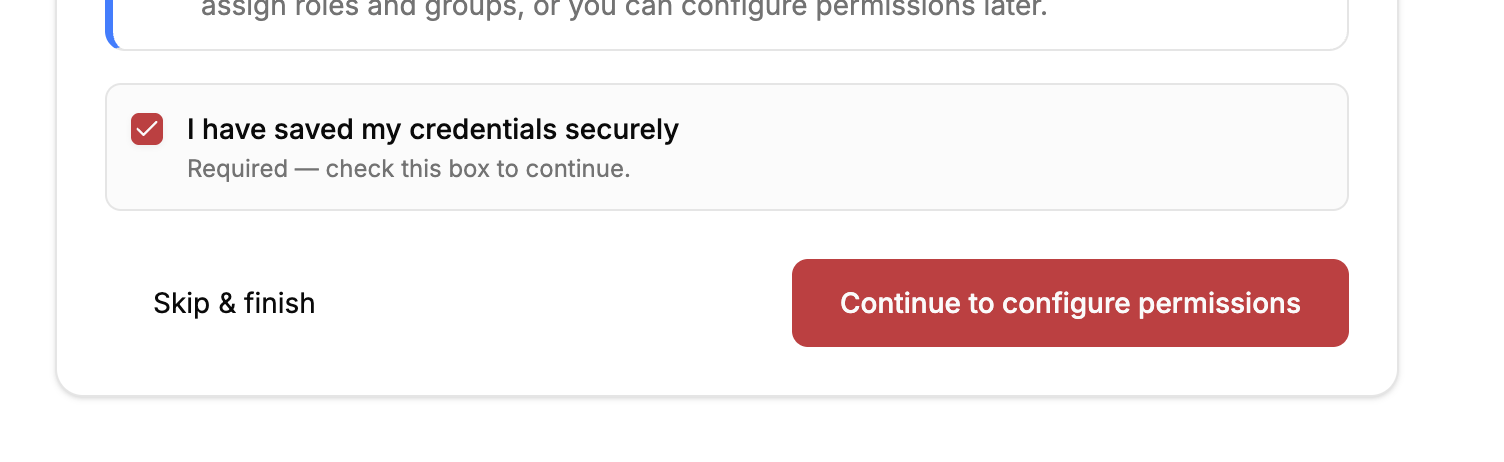
Click Continue to configure permissions.
On the Configure Permissions page, configure the permissions for the new access key.
You can also assign or modify permissions later from the Access Keys page. If no permissions are configured, the key has the access privileges of a traveler by default.
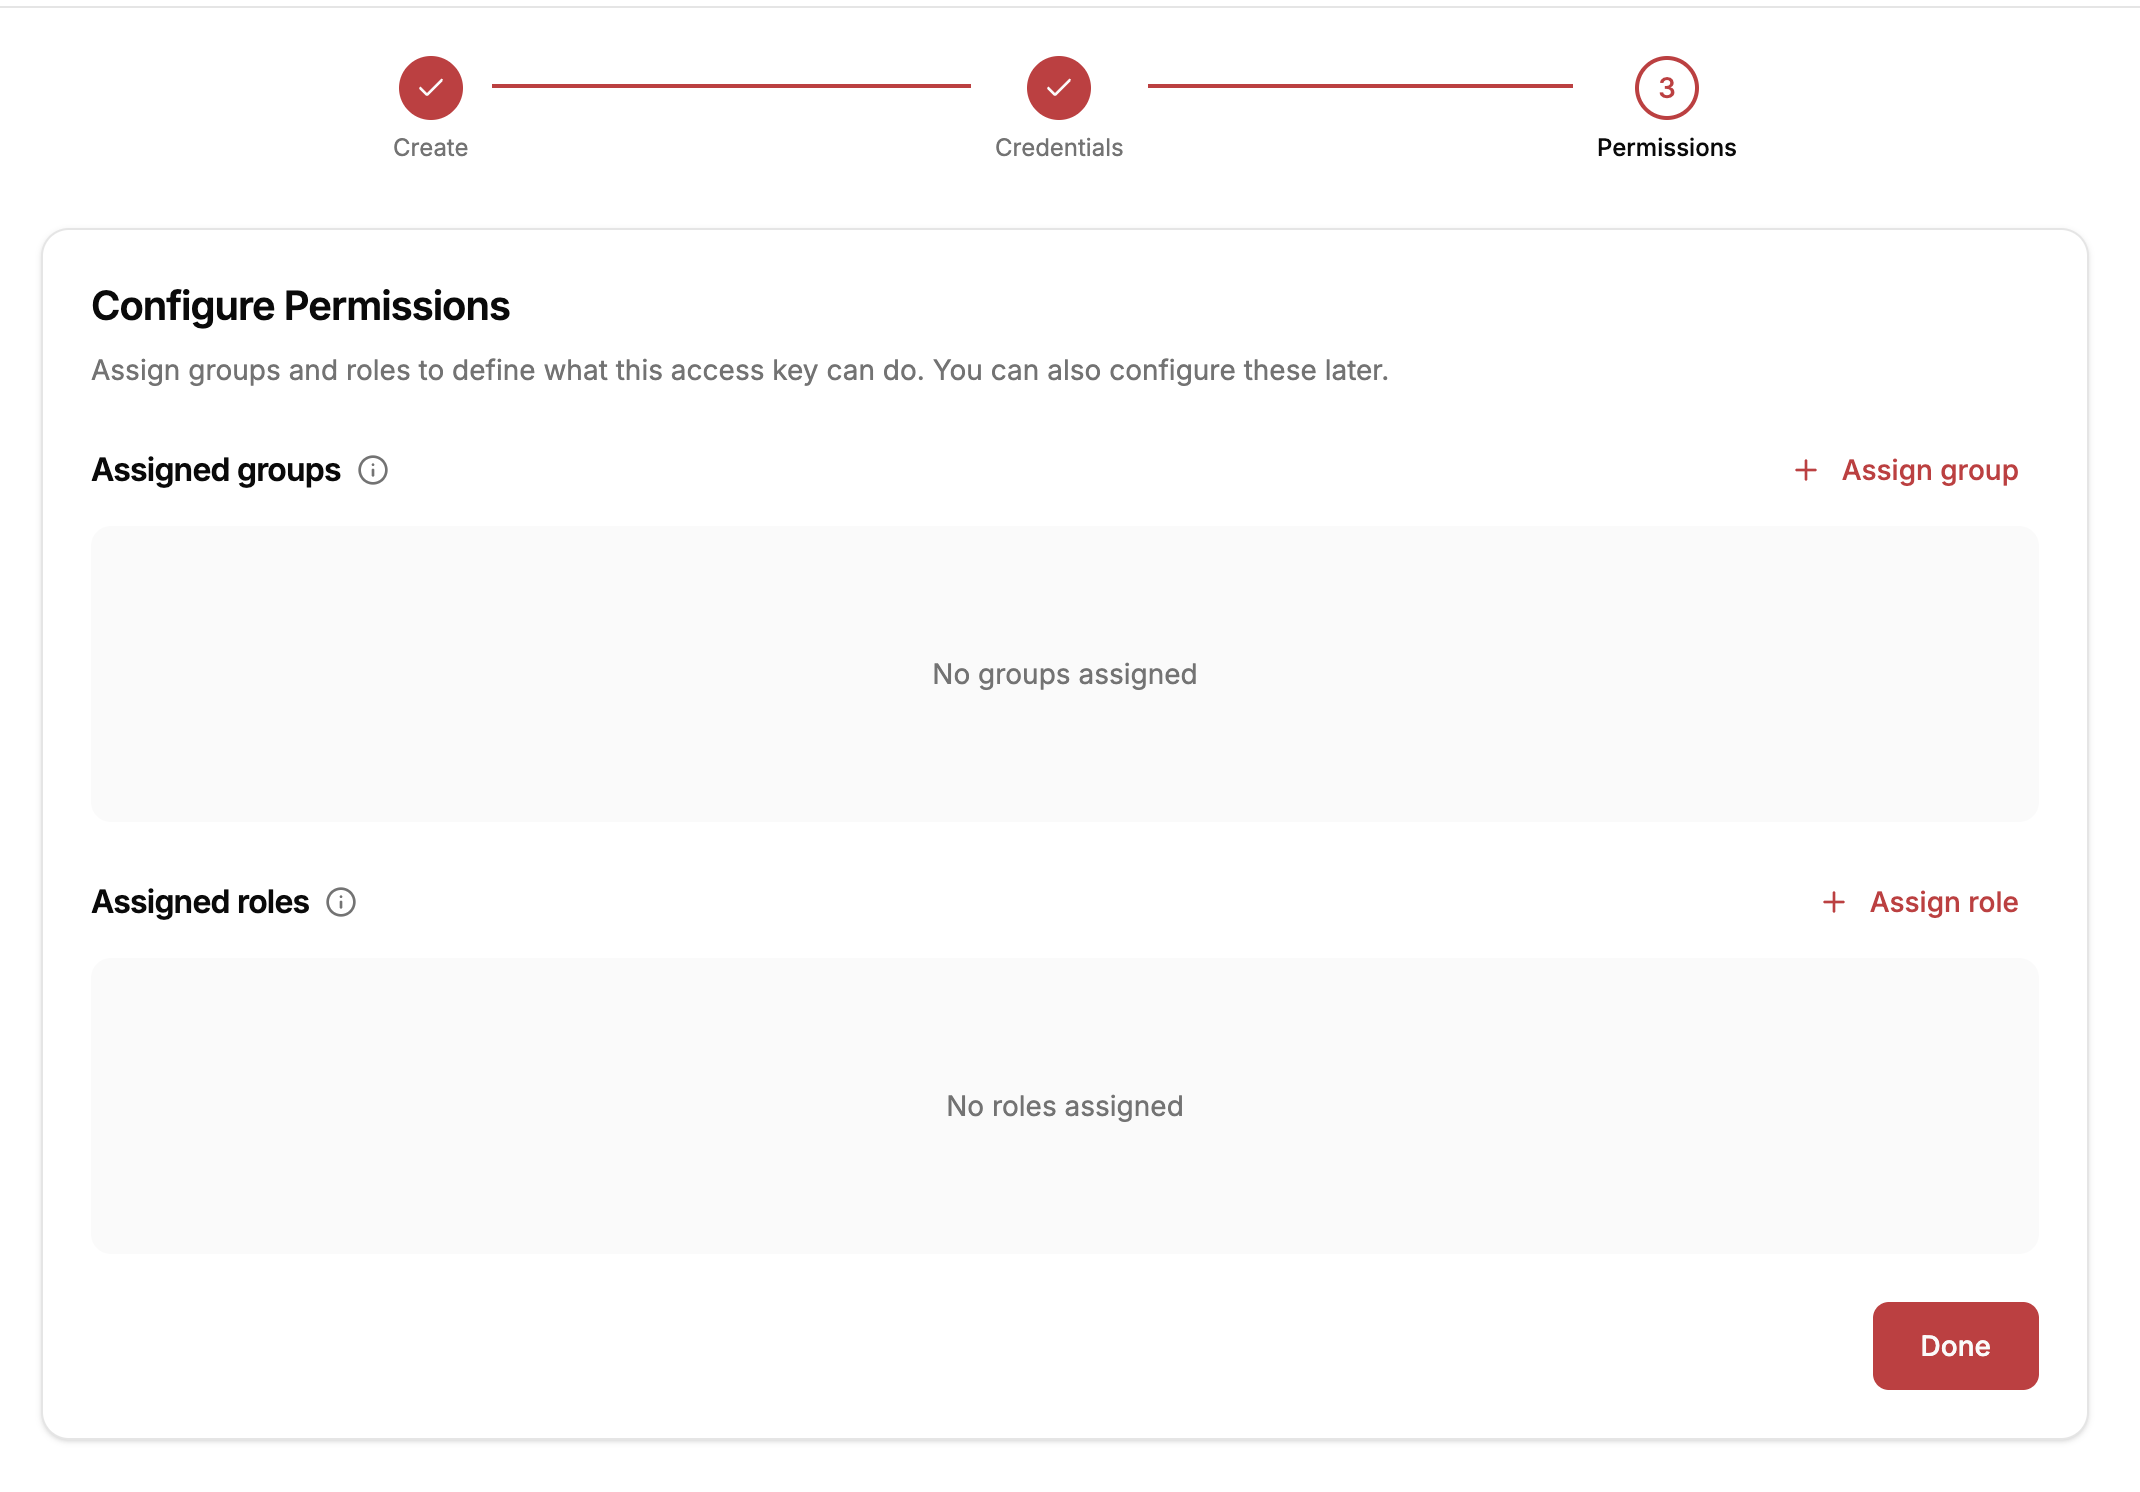
Use this page to assign a specific group or a role to the access key.
- See assigning groups and assigning roles to an access key topic for more information.
- See RBAC concepts to understand more on how Role-Based Access Control works on Spotnana.
Once the permissions are configured, click Done.
The new access key is displayed in the Access Keys page. This page lists all the access keys created for this company. You can identify your access key in the list using the access key name you used in step 3.
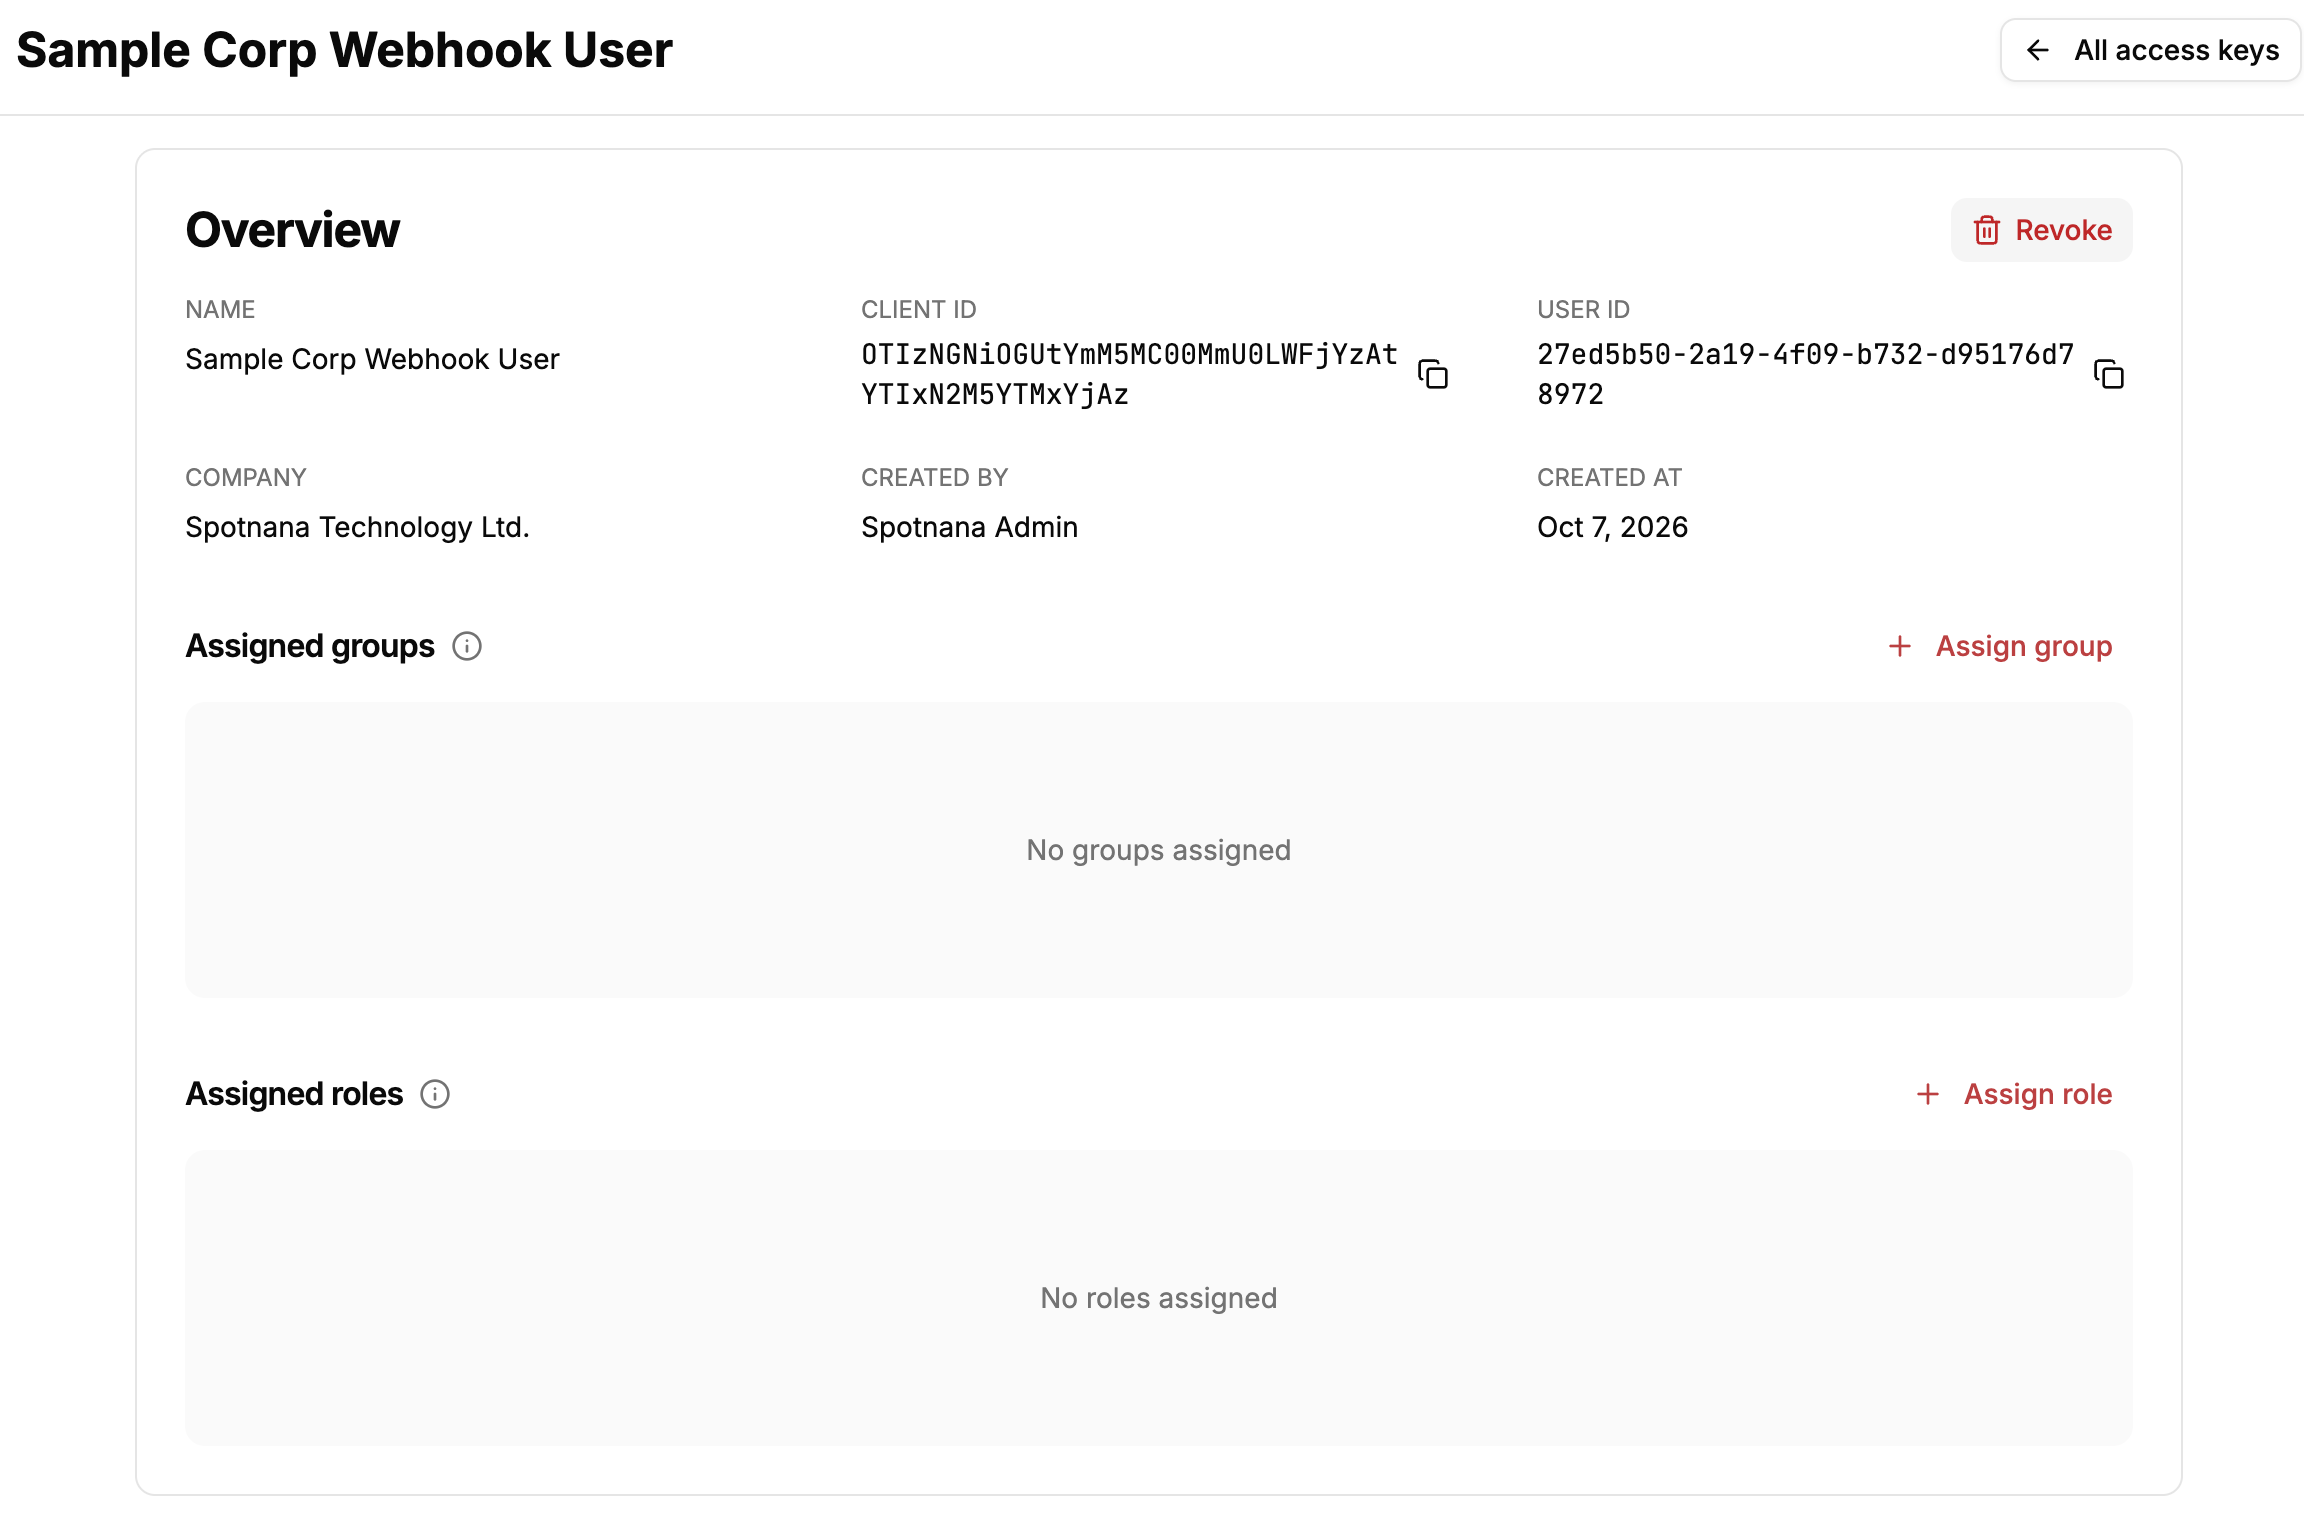
The permissions for an access key can be modified at any time. In the Actions column of the Access Keys page, click View for the access key whose permissions you want to modify.

The Overview page of the selected access key is displayed. From here you can modify the existing permissions.
Spotnana provides you with a list of predefined roles and scopes you can assign to an access key. This ensures that users with this access key can access only specific features within the Spotnana platform.
See roles and scope concepts to learn more.
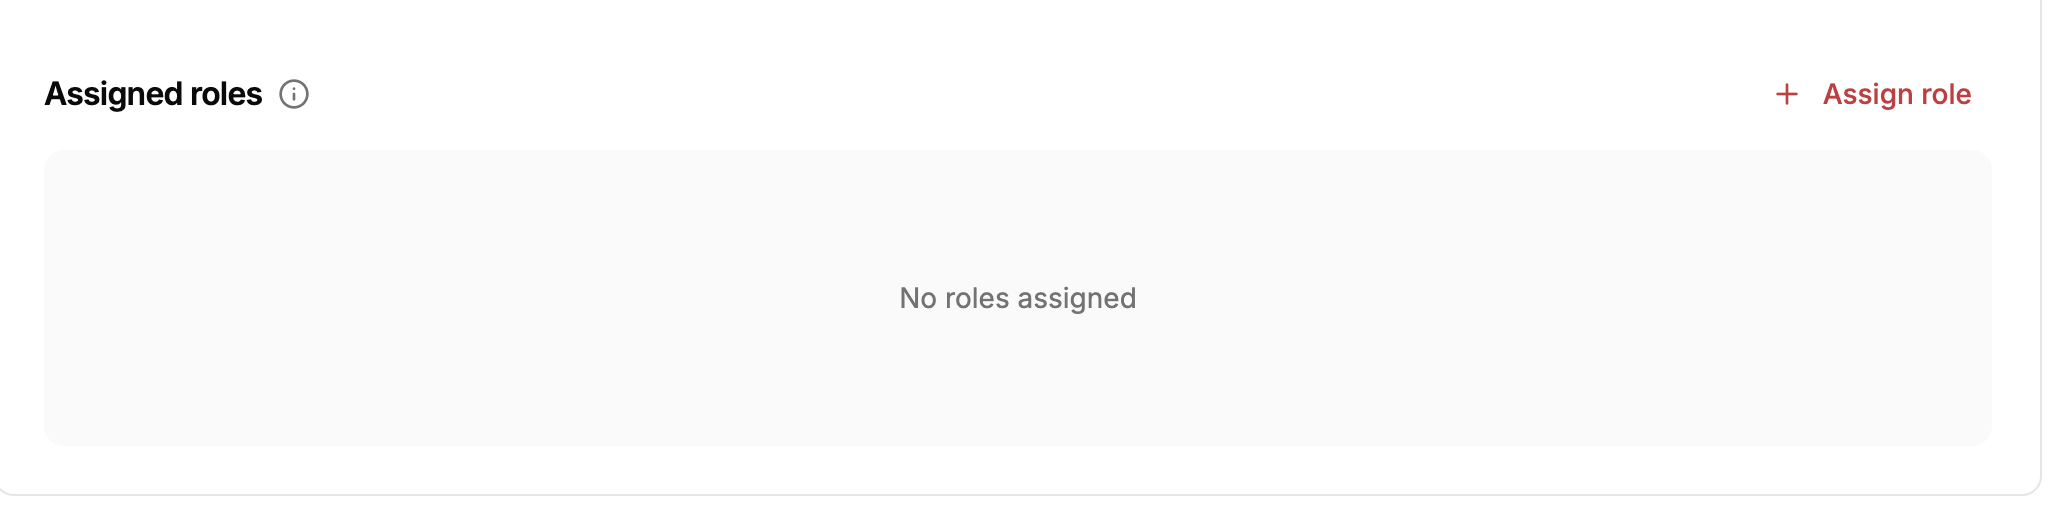
On the Configure Permissions page (step 7 in creating a new access key), click Assign role.
Select the roles you want to assign to the access key. See available roles to understand the permissions granted by each role.
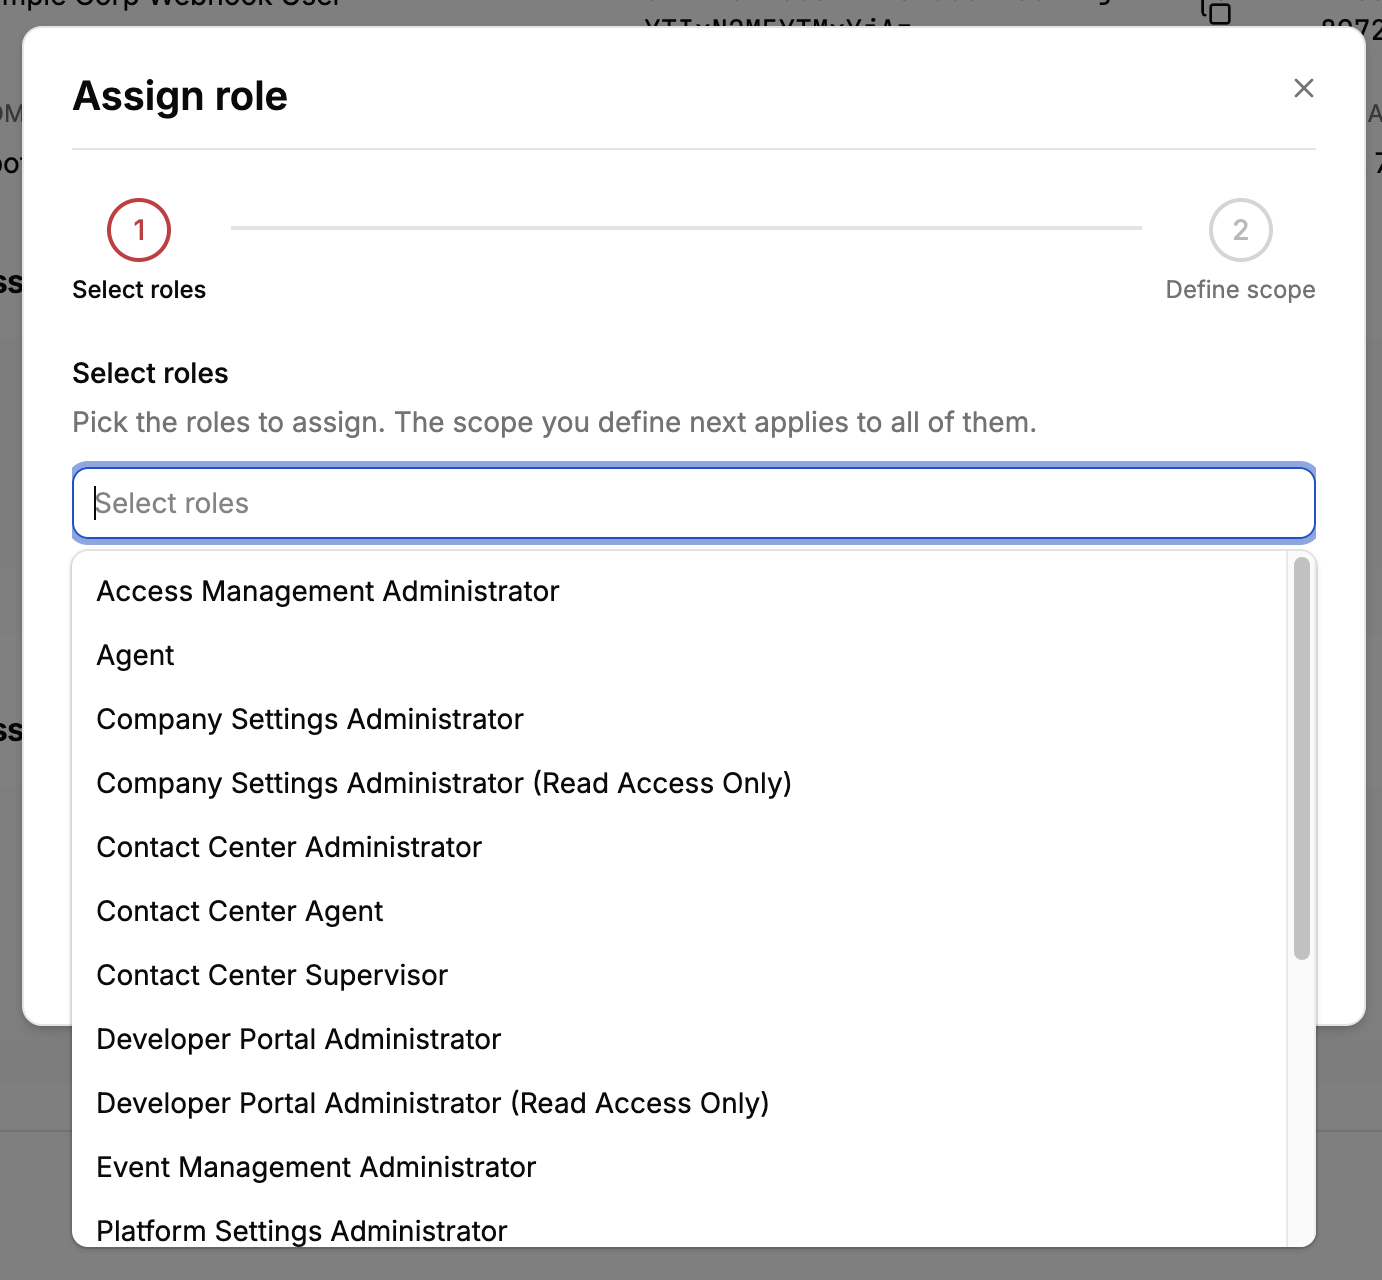
You can select more than one role in this dialog.
After selecting the roles, click Define Scopes. On this step, specify where in the Spotnana platform the selected roles apply to the access key. For example, the Agent role with the Booking TMC scope allows the agent to service travelers within that TMC. You can select more than one scope; access is granted when any one of the selected scopes matches. See scope concepts to learn more.
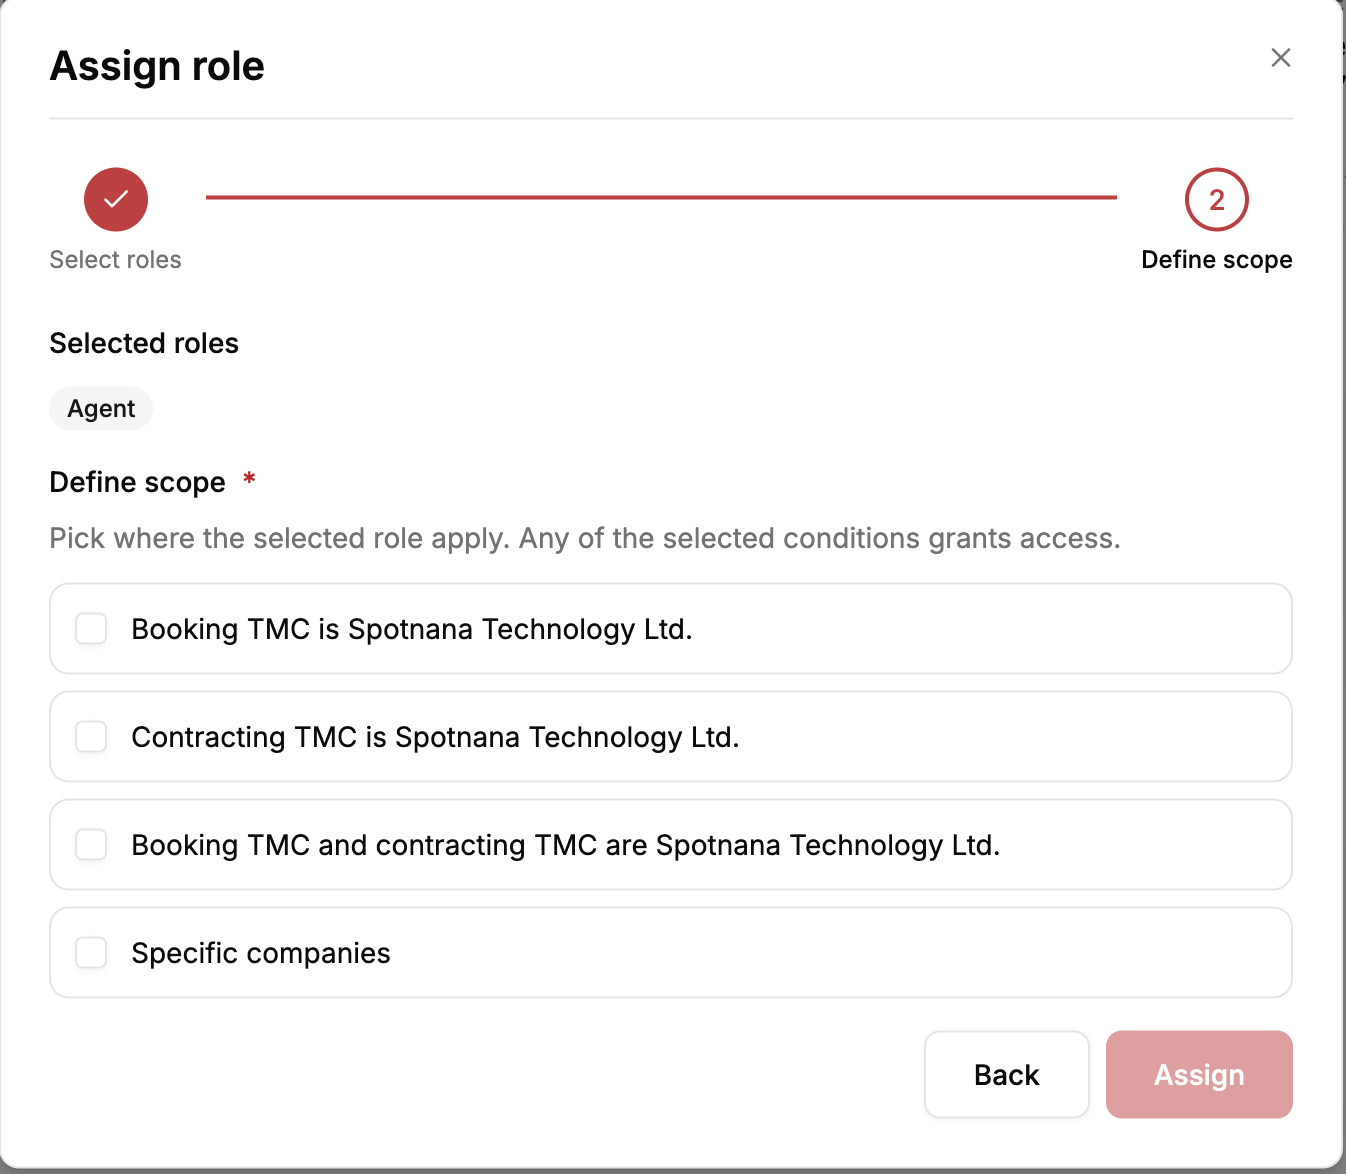
If you select Specific companies, you are prompted to choose the companies where the access key can be used.
Click Assign.
A group is a predefined set of roles and scopes. Assigning an access key to a group grants the key all the access defined by that group.
For example, the Company Travel Arrangers group contains the predefined roles and permissions that allow users to book travel on behalf of other travelers. Assigning an access key to this group grants that level of access to the key. See RBAC user groups to learn more.
On the Configure Permissions page (step 7 in creating a new access key), click Assign group.
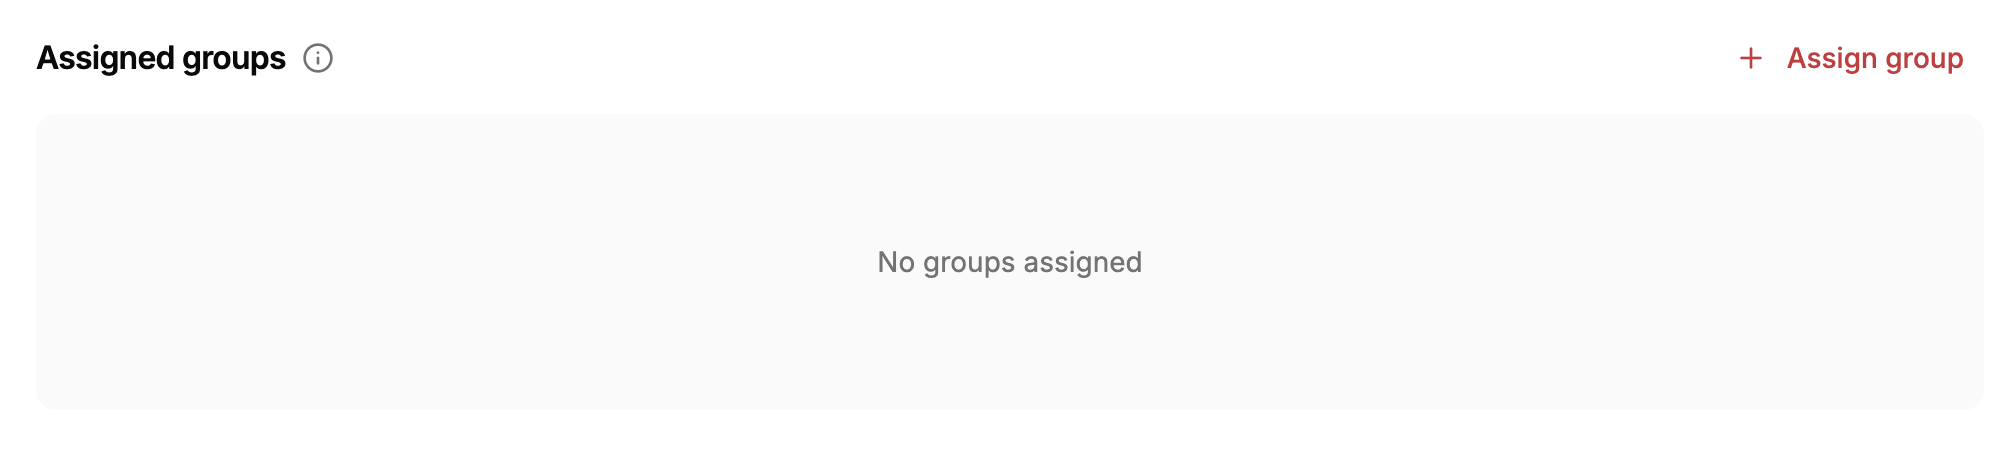
Select a group from the list of available options. See RBAC user groups to learn more about the available groups and permissions.
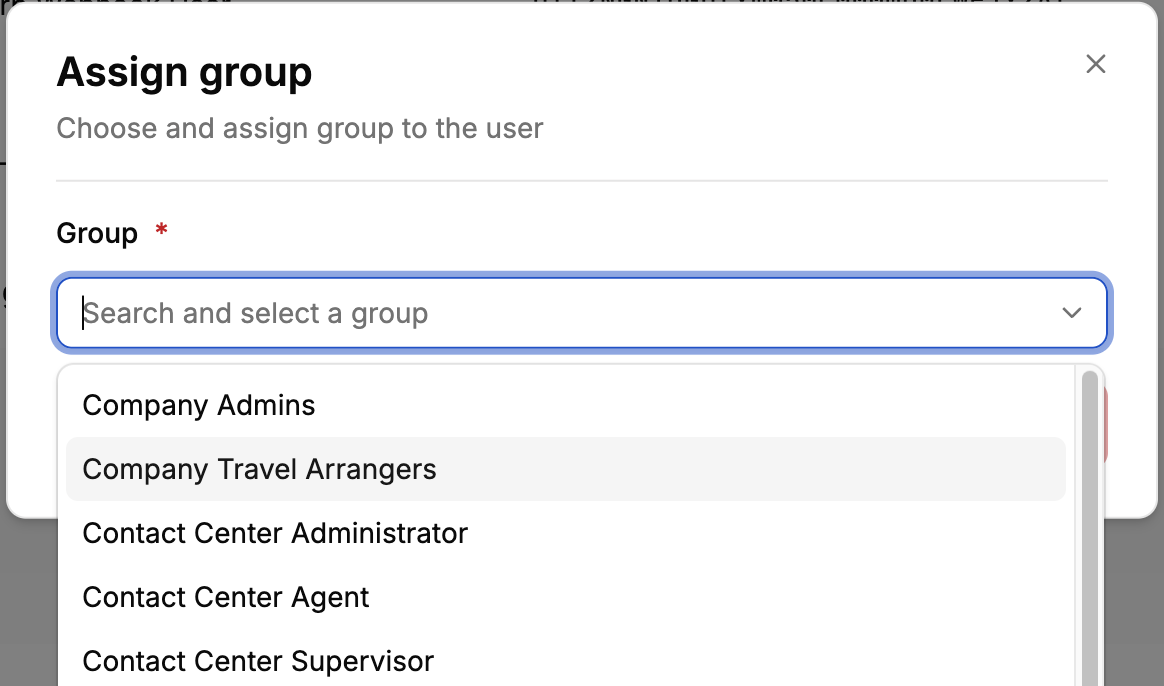
Click Save. The access key is now assigned to the selected group. Click View roles to see the roles, permissions, and scope associated with this group.

An access key can be part of more than one group. Repeat steps 1 through 3 to assign the access key to each group.
Select Access Keys in the left navigation.
You'll see a list of access keys that are currently active. Find the access key you wish to revoke using its client ID or name.
Click View.
On the Overview page, click Revoke.
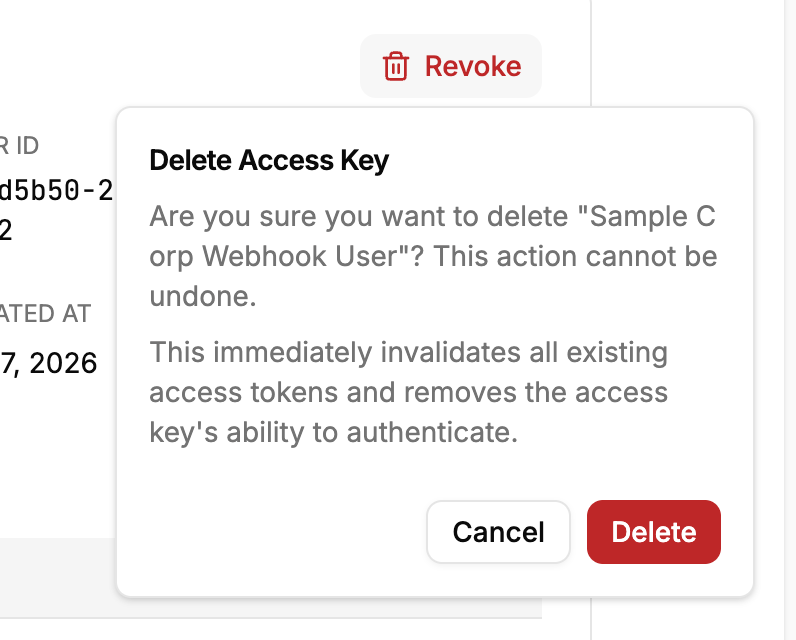
A Delete Access Key warning is displayed. Click Delete to revoke the access key and its permissions.
Revoking an access key immediately and permanently cuts off API access for that key. Any system still using it will start receiving authentication errors. Before revoking a key that is in active use, create a new replacement access key and update your systems to use the new credentials. A revoked key cannot be restored.